GPX Track Preparation Guide: What to Do Before Your Bikepacking Adventure
When you’re setting off on a long-distance bike trip, especially unsupported events like the NorthCape4000 or other Bike Adventure Series challenges, the GPX file provided by the organization isn’t just a line on a screen — it’s your anchor, your map, your plan. If something goes wrong with the GPX management, you could find yourself lost in the middle of nowhere, at night, with no idea which way to go.
That’s why properly preparing your GPX file before you leave is just as important as your training or gear selection.
In this article, we guide you step by step on how to manage a GPX file the right way, from downloading it to the final checks before departure.
1. Download Only Official GPX Files
It sounds obvious, but it isn’t always: download your GPX files directly from the official channels provided by the event organizers. Avoid accepting files from other participants or copying them from third-party websites — a few incorrect points can make the track unusable.
Often, the organizers provide multiple files to help your GPS handle the route more efficiently. Download them all, save them in a dedicated folder, and don’t rename or modify them, at least until you’ve completed your checks.
2. Make Sure the Files Are Complete
Check that the number of files matches what the organizers have communicated. If, for example, the NorthCape4000 is divided into 9 segments, make sure you have all 9. If anything is missing, contact the organizers immediately.
You can use tools like GPXSee, RideWithGPS, Komoot, or QMapShack to preview the files and make sure they load properly, with no errors or gaps. Do not save the files again from these programs, as you might unintentionally alter the original data.
3. Upload the GPX Files Directly to Your GPS
If your device allows it, connect your GPS to your computer and upload the GPX files directly, without going through third-party software like Garmin BaseCamp, Komoot, or Strava. These programs, though useful for other tasks, can automatically alter your route, simplifying it or recalculating it onto “preferred” roads. The risk is that your GPS may lead you off the official route.
If you have no choice but to use third-party software, double-check that the uploaded route matches exactly with the original file provided by the organizers.
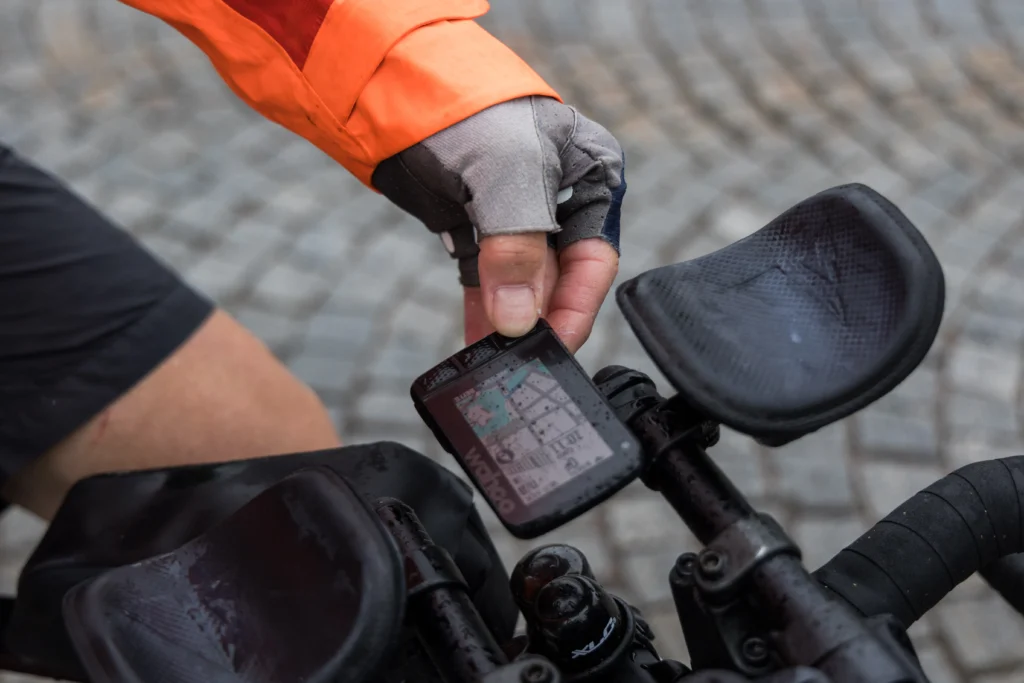
4. Test the GPX on Your Device
Once the track is loaded, turn on your GPS and make sure it opens without issues. If your device has a simulation mode, use it to test navigation.
Check that:
- The track loads quickly and without errors.
- Off-route alerts work properly.
- The route line is continuous and clearly visible.
5. Prepare a Backup: Your Smartphone
Even the best GPS can fail — it can break, fall, or run out of battery at the worst possible moment. That’s why having a backup on your smartphone is essential.
We recommend the app OsmAnd+, which allows you to:
- Import GPX tracks.
- Use high-quality offline maps.
- Navigate even without signal coverage.
Download the offline maps for all the regions you’ll cross before your departure, and load the original GPX tracks onto the app. Test them on OsmAnd+, making sure the routes are visible and working properly.
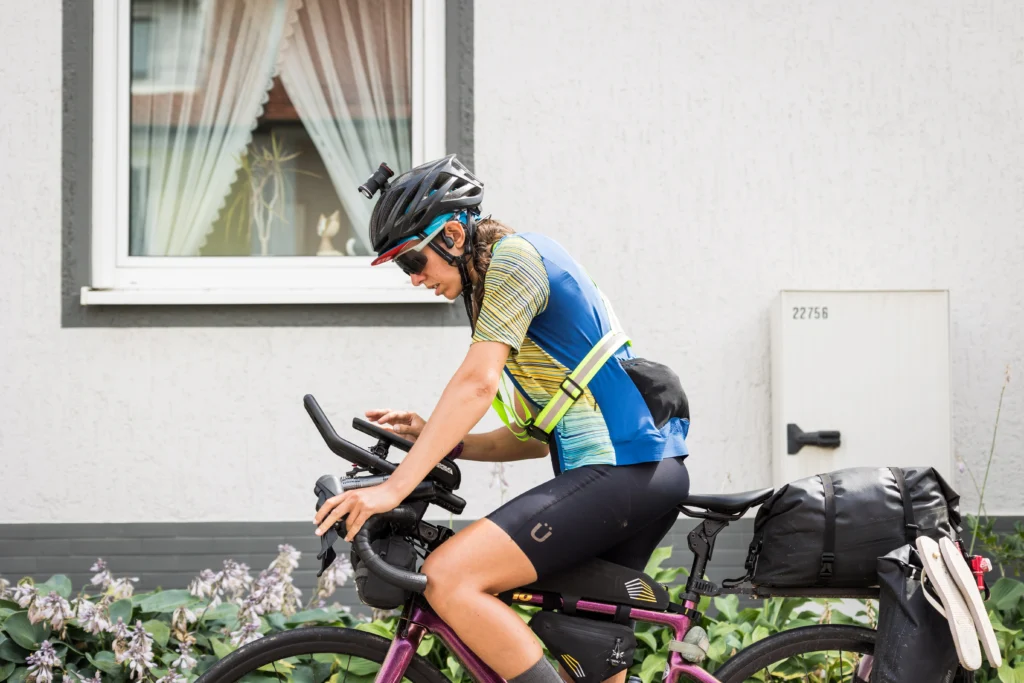
Finally, make sure you have a bike mount for your smartphone. They are easy to find online or in bike shops, affordable, and can save your day if your primary GPS fails.

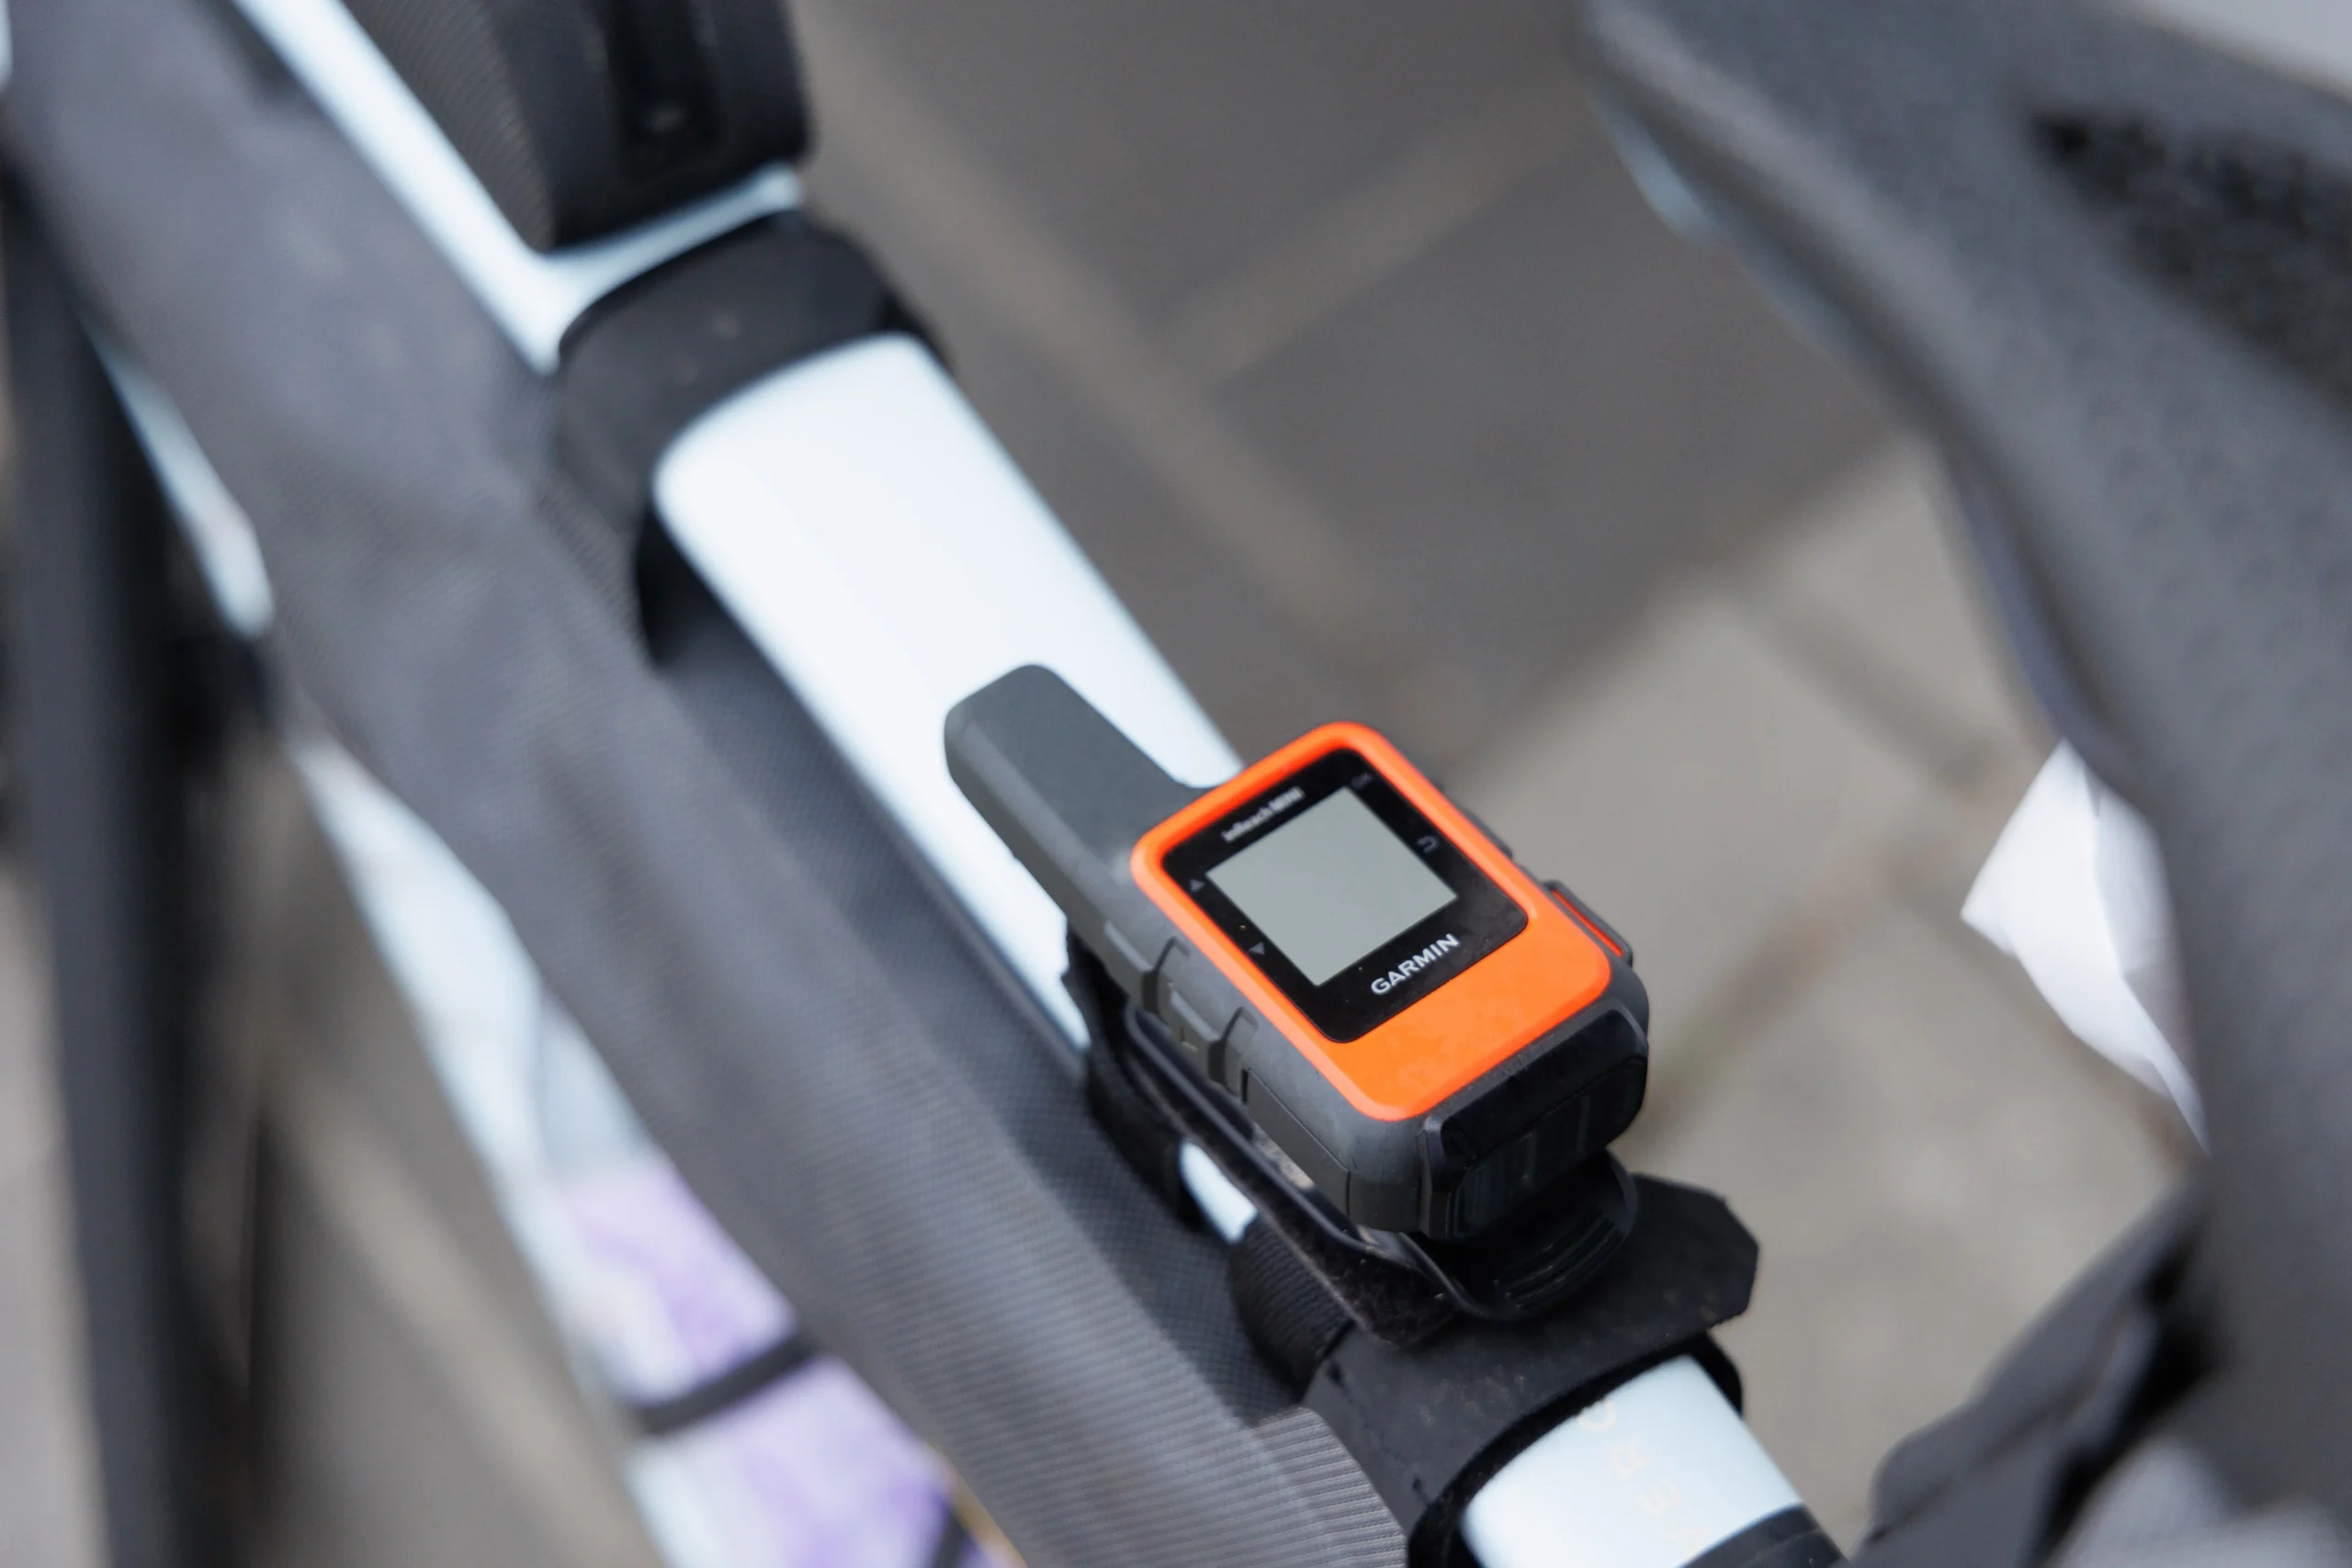
6. Bring a Second GPS (Even an Old One)
If you have an old GPS tucked away in a drawer, bring it as a backup. Ideally, it should have a working battery and the ability to load the original GPX files just like your main device.
You don’t need to keep it turned on — just have it ready in case of emergency. It’s an extra layer of safety that can make all the difference.
7. Download Offline Maps to Your GPS
Before packing your GPS, make sure you’ve downloaded offline maps for all the regions you’ll be riding through. If you go beyond the pre-installed map coverage, your GPS may show just a floating line over a blank screen, making navigation and rerouting impossible.
Connect your device to Wi-Fi or your computer, open the map manager (Garmin Express, Wahoo ELEMNT app, Sigma Data Center, etc.), and download the map packages that cover your entire route — including any possible detours or border crossings. Also, check that you have enough free memory space on the device.
8. Split the Track Into Daily Stages (Optional)
If you’ve planned your trip day by day, it can be useful to create one track per day, from your overnight spot to your next destination. This way, you’ll have:
- A precise overview of daily distances and elevation gain.
- A clearer sense of progress during the trip.
But be careful: splitting a track requires experience. If you’re not confident with this process, you risk cutting or altering important points, such as waypoints or critical segments. Always work on a copy of the original file, never on your only version.
Final Thoughts: The Track Is Your Silent Companion
In events like the NorthCape4000, your GPS isn’t just another gadget — it’s your travel companion, your map, your safety net. Never underestimate the risk of losing the track or riding with a corrupted or incomplete file.
With a few simple precautions, you can almost eliminate technical issues. A properly managed GPX file lets you focus on the ride, the adventure, and the beauty of the journey, free from unnecessary worries.
And if something does go wrong, you’ll have a plan B… and even a plan C.
Looking for more tips on route analysis and stage planning?
Check out our guide on how to prepare for a bikepacking trip, where we cover everything from evaluating elevation profiles to breaking down daily stages:
👉 How to prepare for a bikepacking trip: the GPS track
New here? Start now.
Create an account to access your Dashboard and connect with the community.

Add comment