The shoes that carry you home
We always talk about saddles and tires — rightly so, because they are critical. But shoes are the third contact point, and on a long trip they are the difference between finishing and not finishing.
The foot transfers all your power to the pedals. It absorbs vibrations from the terrain. It walks when the bike cannot pass. It carries your weight when you get off to push on a section that is too steep or too technical. Asking all of this from a road cycling shoe is unrealistic — and asking all of this without preparing for it is a mistake you pay for on day four, not day one.
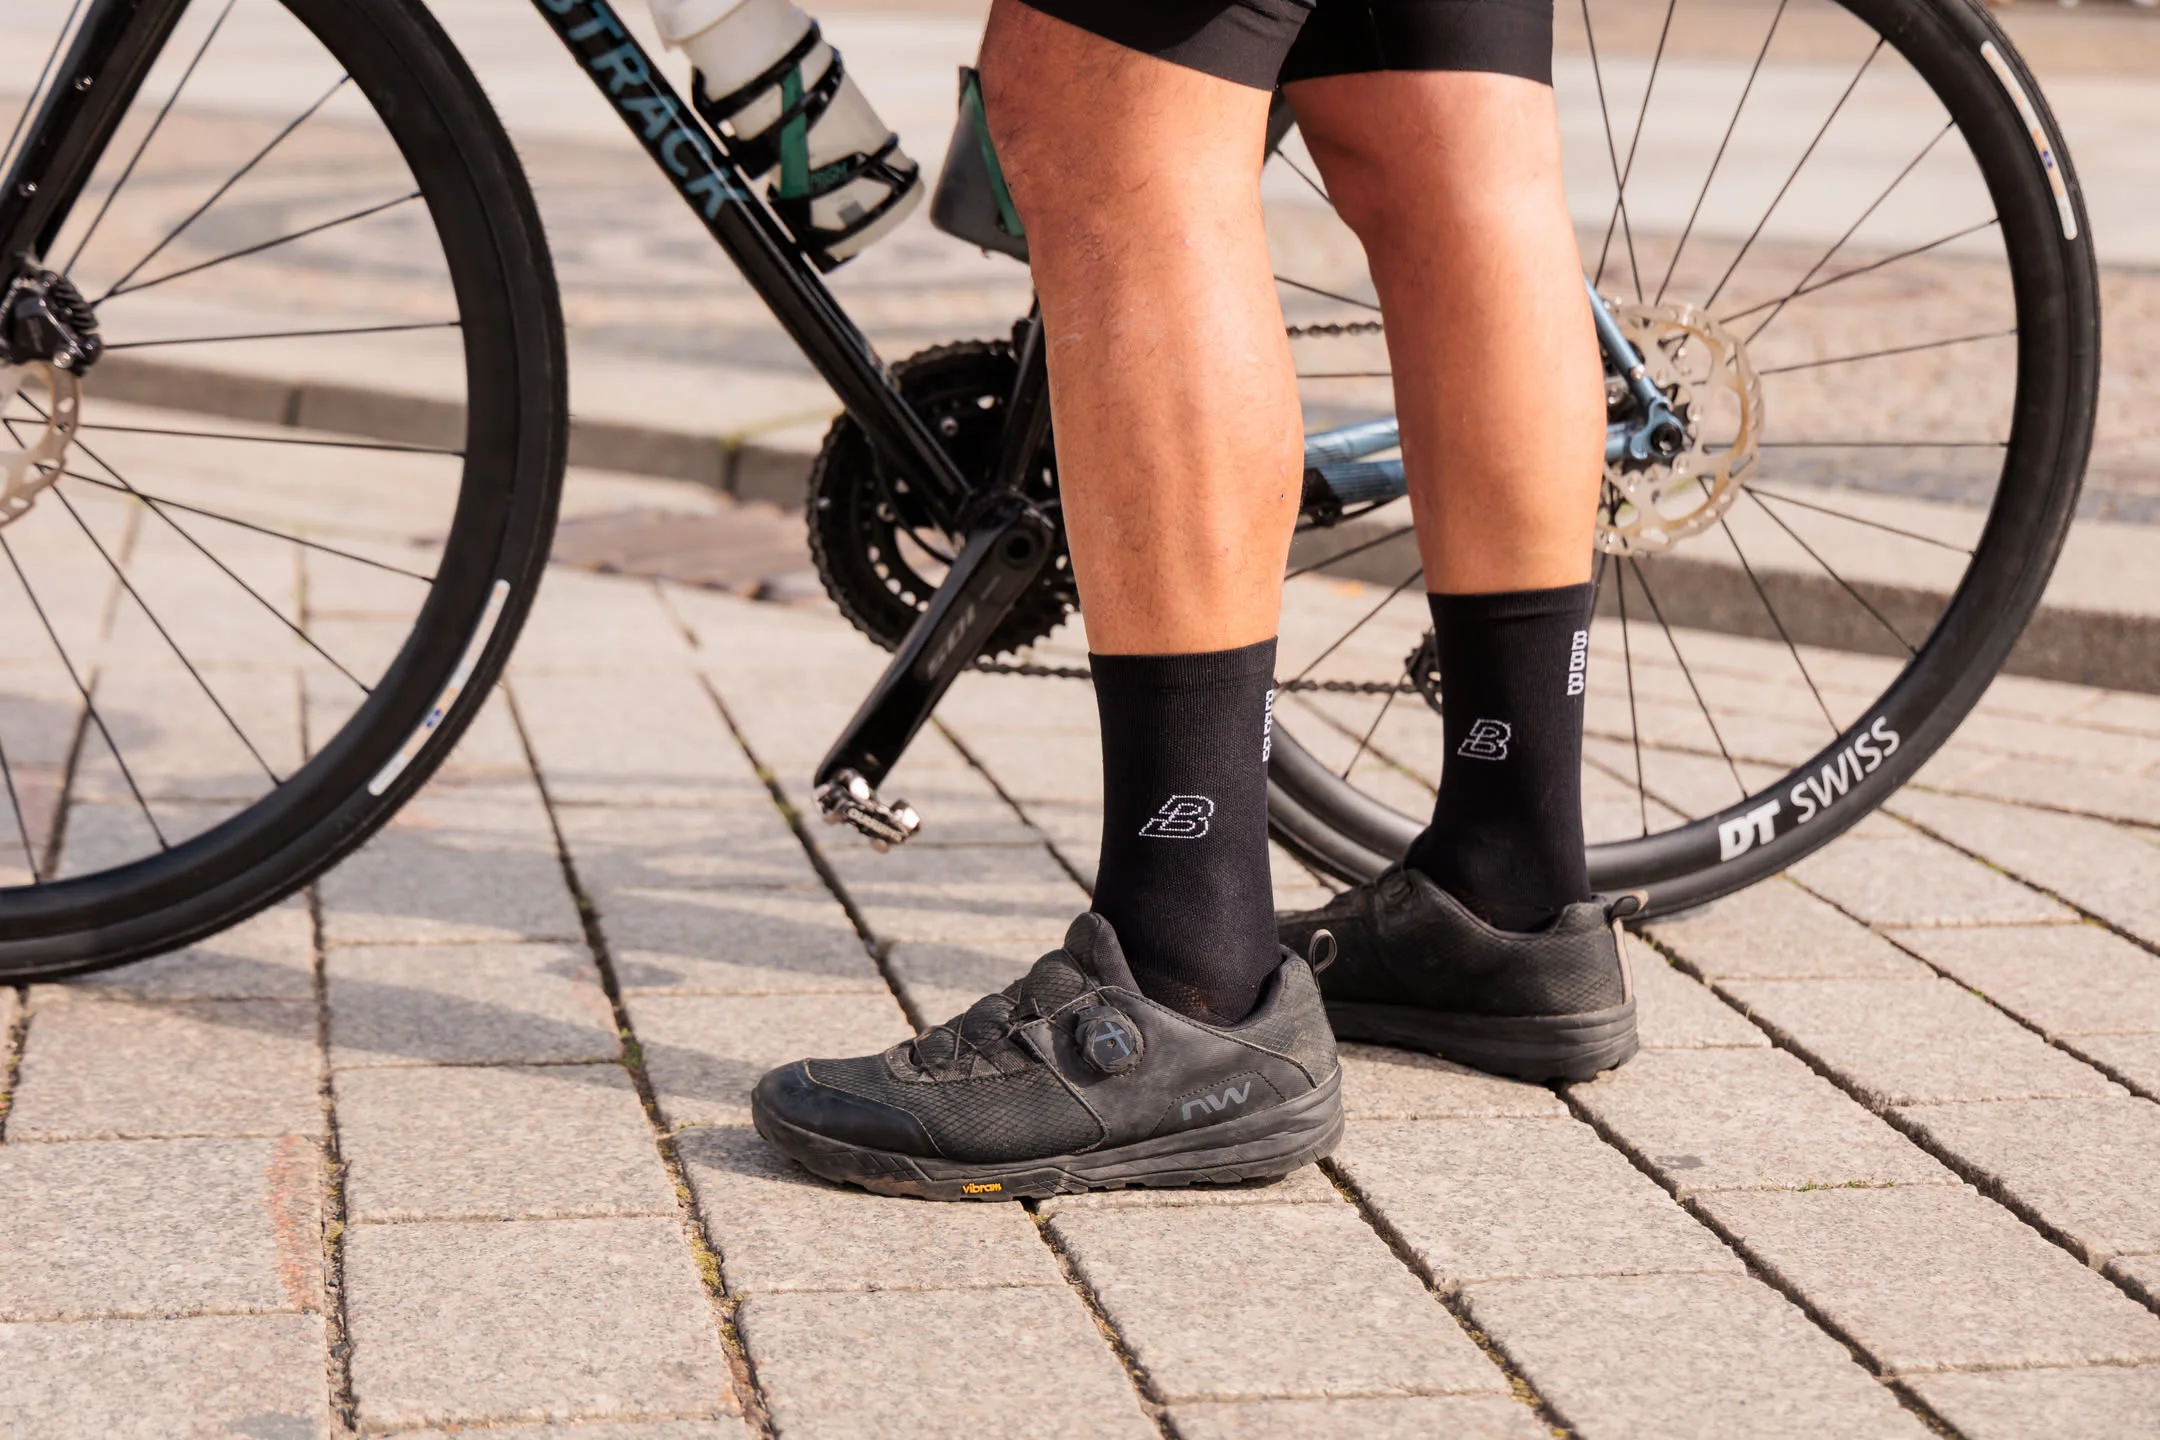
Road shoes have no place in bikepacking. There, we said it.
This is the conversation that needs to happen before any other. If you are planning an event like the NorthCape4000 or The Grand Escape, and you are thinking of using your road cycling shoes — the ones with the three-bolt cleat that sticks out under the sole — please reconsider.
Road shoes are designed for one thing: transferring power while seated on a bike. They are not designed for walking. The cleat protrudes from the sole, gives you almost zero traction on any surface, and turns every smooth floor — a supermarket, a café, a wet road crossing — into a potential fall. And falls with a loaded bike, or just on your own two feet after six hours of riding, are not something you want to negotiate with.
There is also a purely mechanical problem. Walking in road shoes destroys the cleat. The plastic or metal wears down fast, much faster than it would if you only used it for pedaling. After a few days of normal bikepacking — stopping for lunch, entering shops, pushing the bike over a rough section — the cleat is already compromised. A worn cleat releases unpredictably, or does not release at all. Neither is a situation you want to be in.
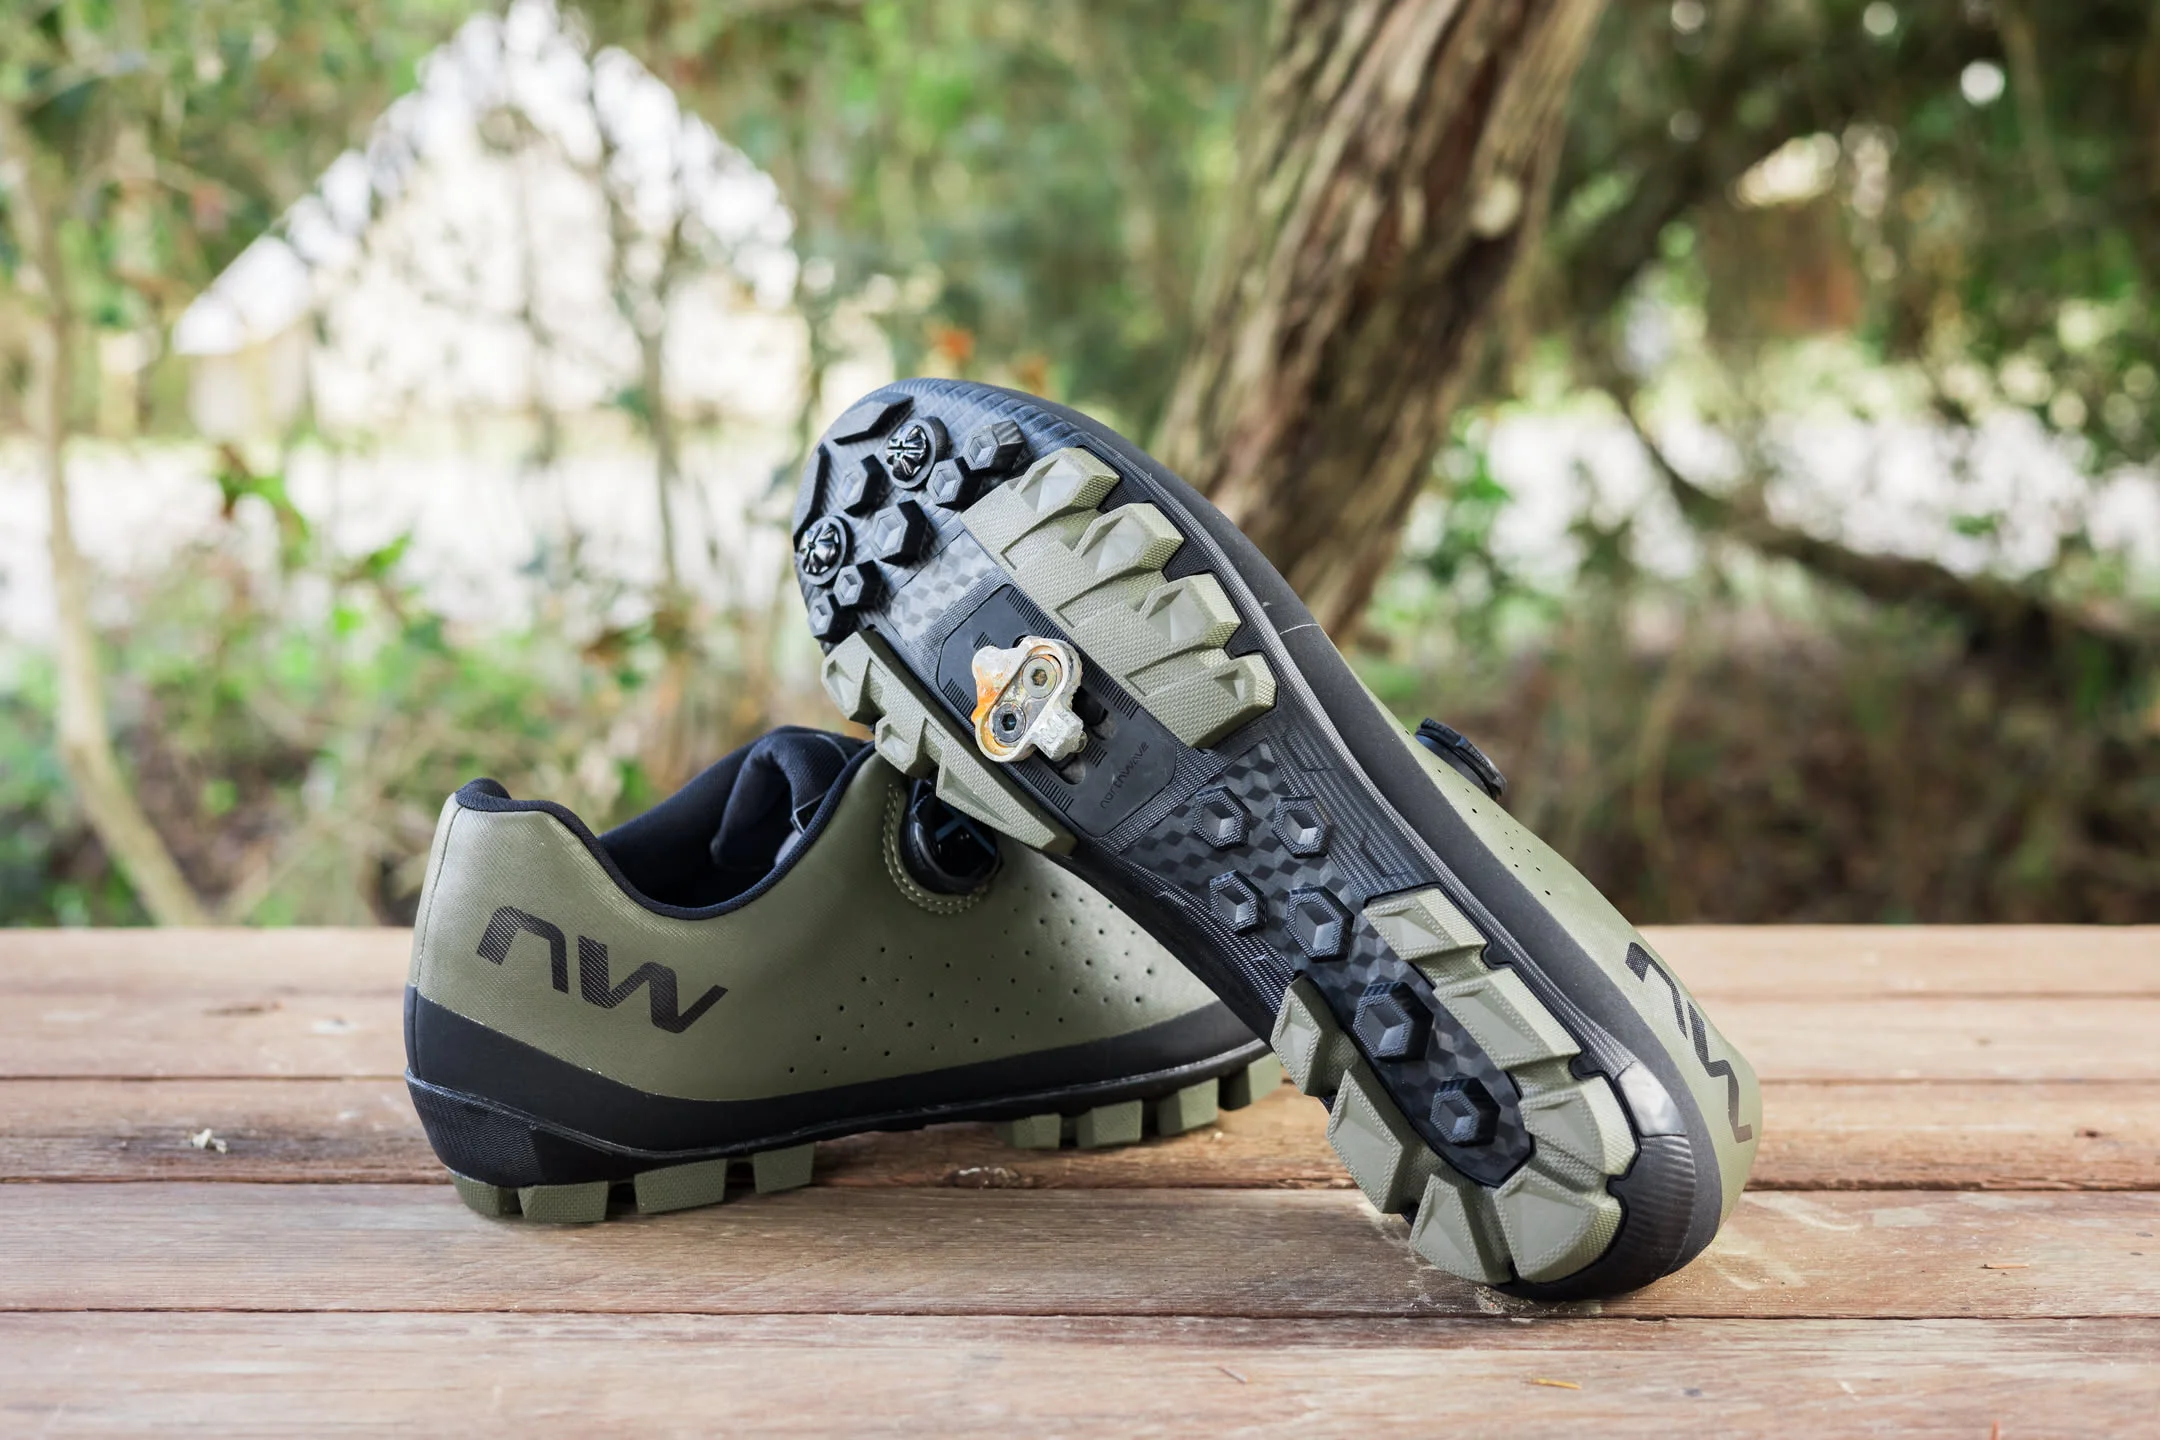
The right choice for any bikepacking trip with a serious percentage of riding — and especially for multi-day events — is a shoe with a recessed SPD cleat. Cross-country or gravel-specific shoes give you real performance on the pedals and actual walkability off them. The cleat sits inside a rubber sole, protected, and you can walk into a petrol station at kilometer 180 without looking like a penguin on ice.
Northwave builds its adventure and gravel range specifically around this — SPD compatibility, walkable soles, performance where it counts. It is not a compromise. It is the right tool for what bikepacking actually is: a mix of riding and living, not just racing.
One important nuance though: walkable does not mean soft. Some SPD shoes are still very stiff, which is great for power transfer but can become uncomfortable on long hike-a-bike sections. Before choosing, think about how much walking your specific route will demand. The stiffer the shoe, the more efficient the pedaling — but also the more your feet will feel it after a kilometer on foot. Find your balance based on your route, not just your watts.
Your foot swells. The shoe does not.
This is the first thing to know, and almost nobody explains it clearly before you experience it yourself.
During long hours in the saddle, your foot increases in volume. It is normal, it is physiological, it happens to everyone. The problem is that a shoe that fits perfectly in the morning can become a vice by four in the afternoon. That compression — constant, silent, invisible — reduces circulation, puts pressure on nerves, and generates the tingling or numbness that many bikepackers know well without knowing where it comes from.
The solution is simple but needs to happen before you leave: try your shoes in the late afternoon, when your foot is already slightly swollen, with the thickest socks you will use on the trip. If your toes have room to move freely and you feel no lateral restriction, you are on the right track.
Northwave designs its adventure cycling shoes with this in mind — the toe box is generous, built for someone spending many hours in the saddle rather than for the tightest possible fit. That is not a coincidence. It is a deliberate technical choice.
The bike fitter is also about the shoes
We covered this in the saddle article: seeing a bike fitter before a long trip is the best investment you can make. But that session is not only about the saddle — it is also about the shoes, and above all about cleat position.
Cleat placement is one of the most underestimated things in bikepacking. The standard road cycling position puts the cleat under the head of the first metatarsal — the most forward point of the foot. It works fine for a three-hour ride. Over a ten-hour stage, day after day, that position systematically tires the calves and loads the Achilles tendon more than necessary.
The solution that many experienced bikepackers use — and that bike fitters often recommend for long-distance riding — is to move the cleats slightly rearward, toward the heel. Even five or ten millimeters makes a concrete difference: less work for the calves, less load on the tendon, fewer cramps in the final hours of long stages. Some bikepacking shoes have extended cleat channels specifically to allow this setup.
Another thing only a professional can evaluate is whether you have a leg length difference — even a small one, even a few millimeters. On a normal ride you do not feel it. On a hundred kilometers a day for a week, it can become the source of a knee pain you cannot figure out.
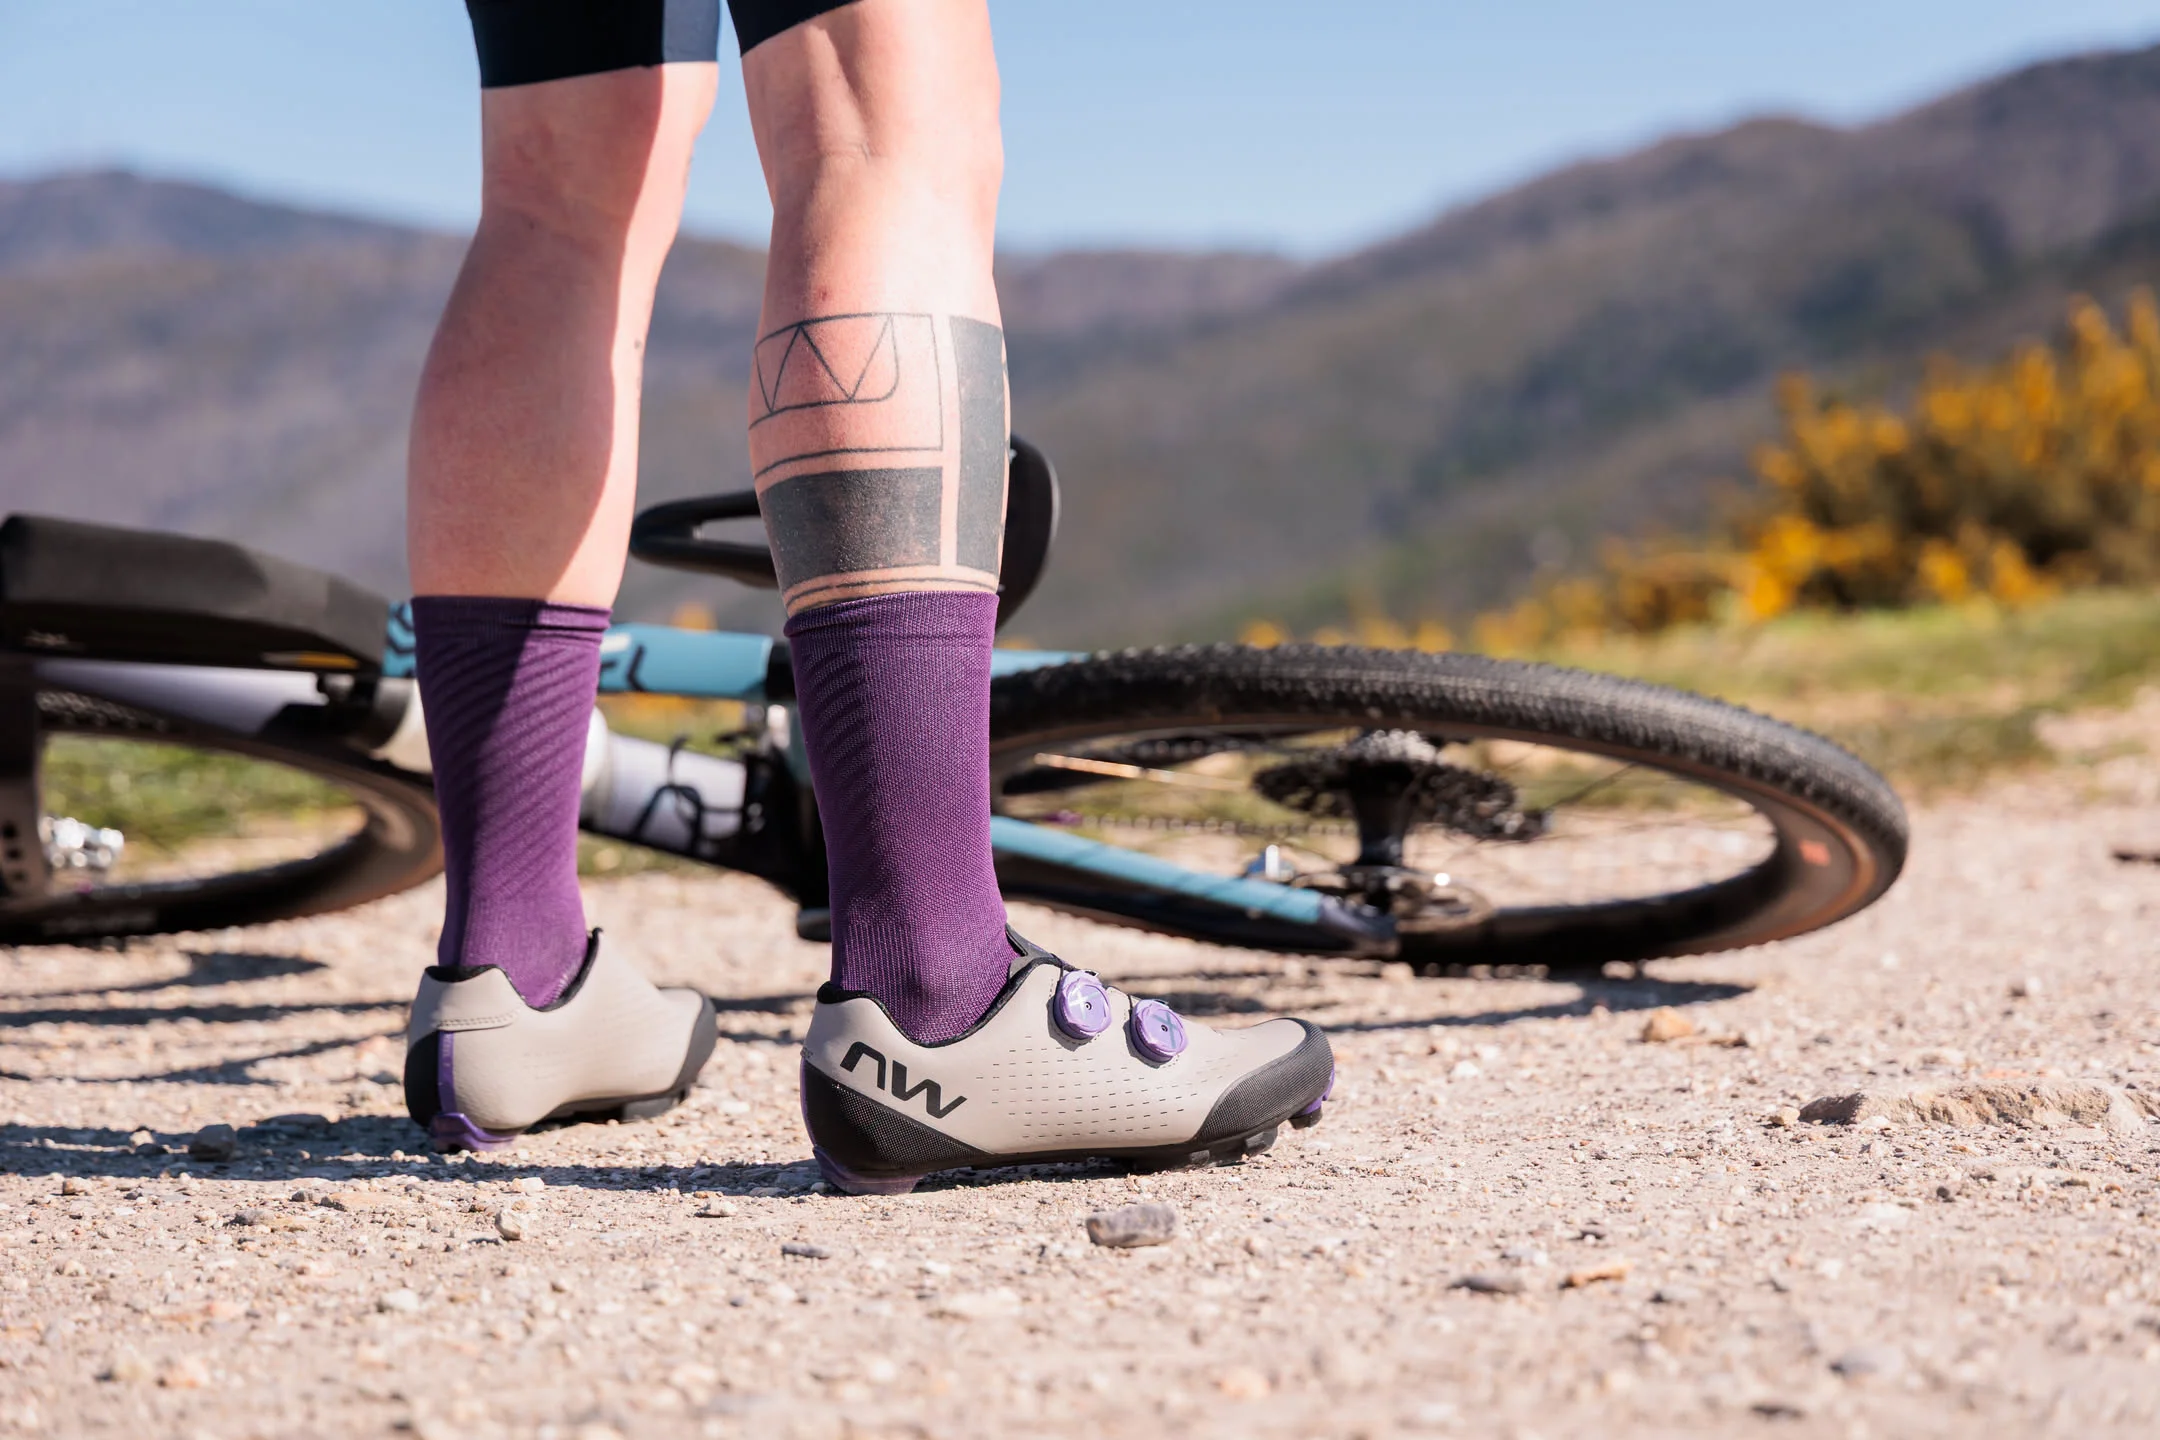
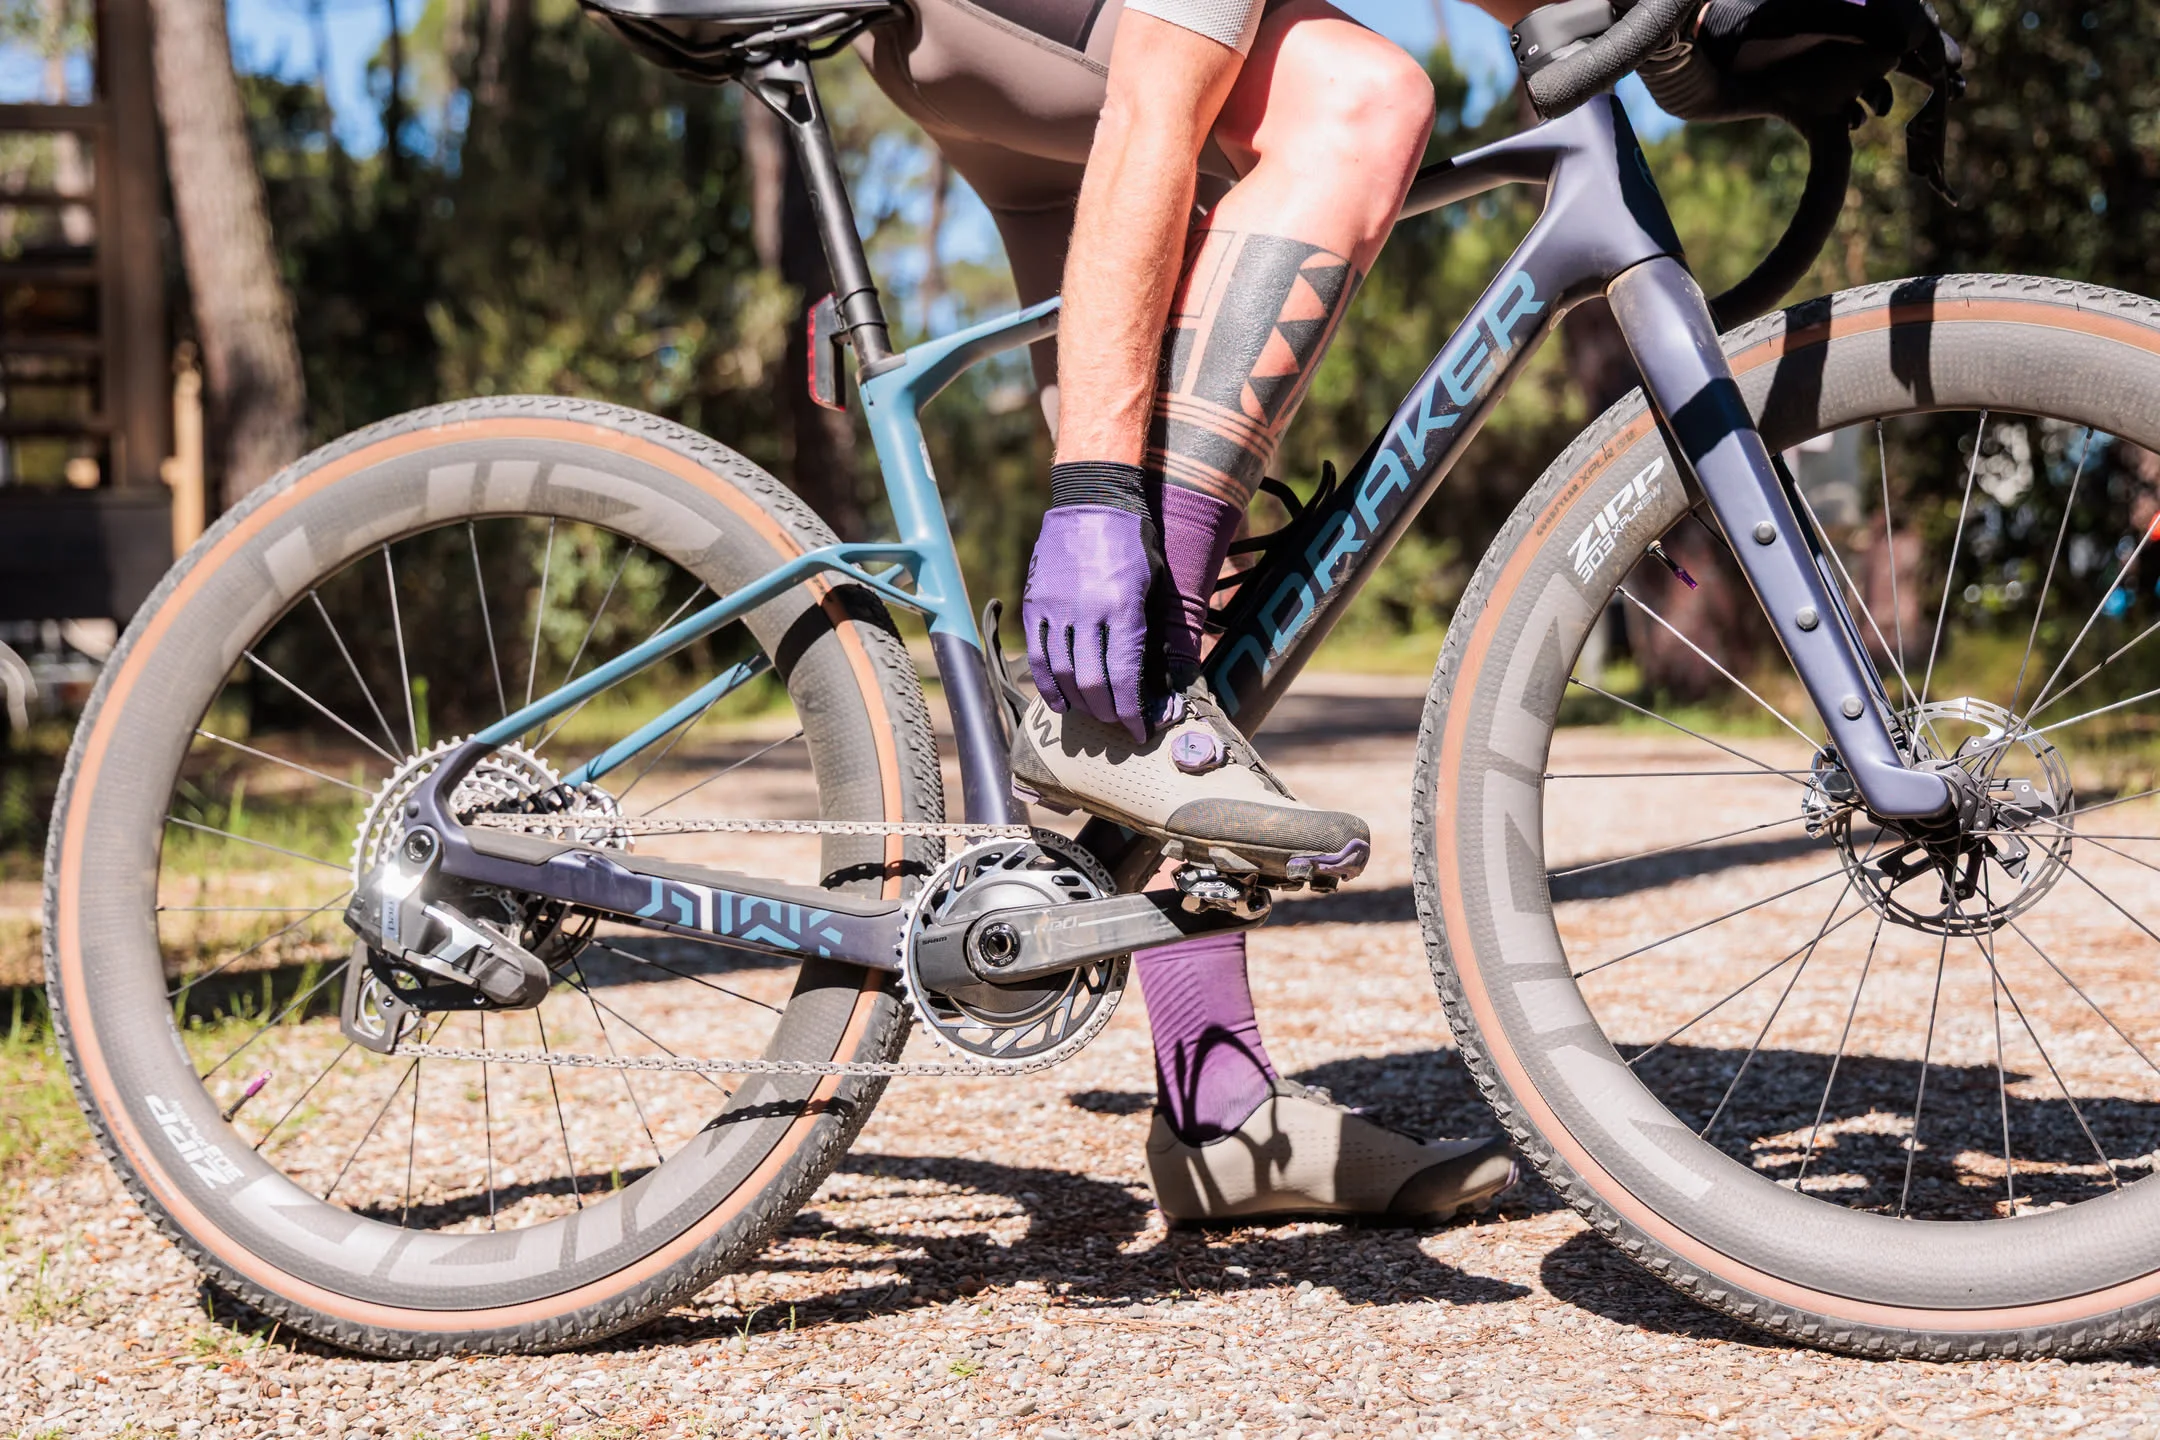
The SLW dial: excellent, if you know how to manage it
If you have Northwave shoes with the SLW closure system — their proprietary Speed Lace Winch dial — you already know how good it is. Micro-adjustment on the fly, even tension across the foot, no laces coming undone mid-ride. On a long trip it works very well on one condition: you know how to maintain it and what to do when it jams.
The most common problem is fine sand and mud entering the dial mechanism and blocking it. The classic mistake is forcing it. Do not.
Most current Northwave SLW dials have a mechanism designed to be cleaned without tools. With the shoe open, lever under the edge of the dial cap and pull upward — it releases. Rinse with water — your bottle works fine — to flush out sand and debris, then press everything back into place until you hear the click. Problem solved in two minutes.
Before you leave, look up exactly which version of the SLW system your specific shoes use and how it works. Knowing this in advance is worth more than any emergency tool.
Always carry a spare cable for your SLW system. It weighs almost nothing, takes up zero space, and if the cable breaks in the middle of nowhere the difference between having one and not is the difference between continuing and stopping. If you have nothing and the system fails, a zip-tie wrapped around the shoe is not elegant but it gets you to civilization.
Cleats: the maintenance nobody does until it is too late
Mud, water, gravel — the perfect mix to seize cleat bolts. A bolt that will not come out is a serious problem: a worn cleat cannot be replaced, and in some cases you end up damaging the sole trying to force it.
Prevention is simple: when you fit new cleats, put grease on the bolt threads before screwing them in. Marine grease or anti-seize compound both work well. This prevents galvanic corrosion between the bolt metal and the threaded plate in the sole.
During a long trip, check bolt tightness every three or four days. Vibrations loosen them slowly, and losing a bolt in a remote place turns your shoe into a difficult problem to solve on the road.
Moisture management: stop fighting it, start managing it
After a few years of bike travel, you reach a peace with this truth: your feet get wet. In rain, through stream crossings, from sweat. No waterproofing holds for days on end in mixed conditions. The right strategy is not keeping your feet dry — it is managing moisture intelligently.
The first thing to do every evening when you arrive: remove the insoles. Moisture accumulates between the insole and the inner sole, and with them inside everything dries much more slowly. With the insoles separated, the surface exposed to air doubles. Keep the insoles near your body — inside your sleeping bag if they are clean, or simply placed on top of you — and leave the shoe shell to air out.
If you pass through a town, newspaper stuffed inside the shoes is still the most effective method that exists. Change it after an hour and the shoe is surprisingly drier. A microfiber towel stuffed inside for twenty minutes works almost as well.
One thing to never do: put shoes near a fire or use hot stones. Modern cycling shoes are built with heat-activated glues and complex synthetic materials. Excessive heat delaminates the sole, deforms the heel cup, destroys the shoe irreversibly. If you need a gentle heat source, a chemical hand warmer placed inside the toe works — low and constant heat, no structural risk.
On waterproof socks: they work as thermal insulation, but they trap sweat inside. If it is cold and the risk is frozen feet, use them. If it is warm and raining, a merino wool sock that drains and dries quickly is often the better choice for skin health.
Camp shoes: not a luxury, a necessity
After ten hours inside stiff cycling shoes, your feet need to breathe, spread, and move differently. Bringing a light pair of camp shoes is not a concession — it is active recovery.
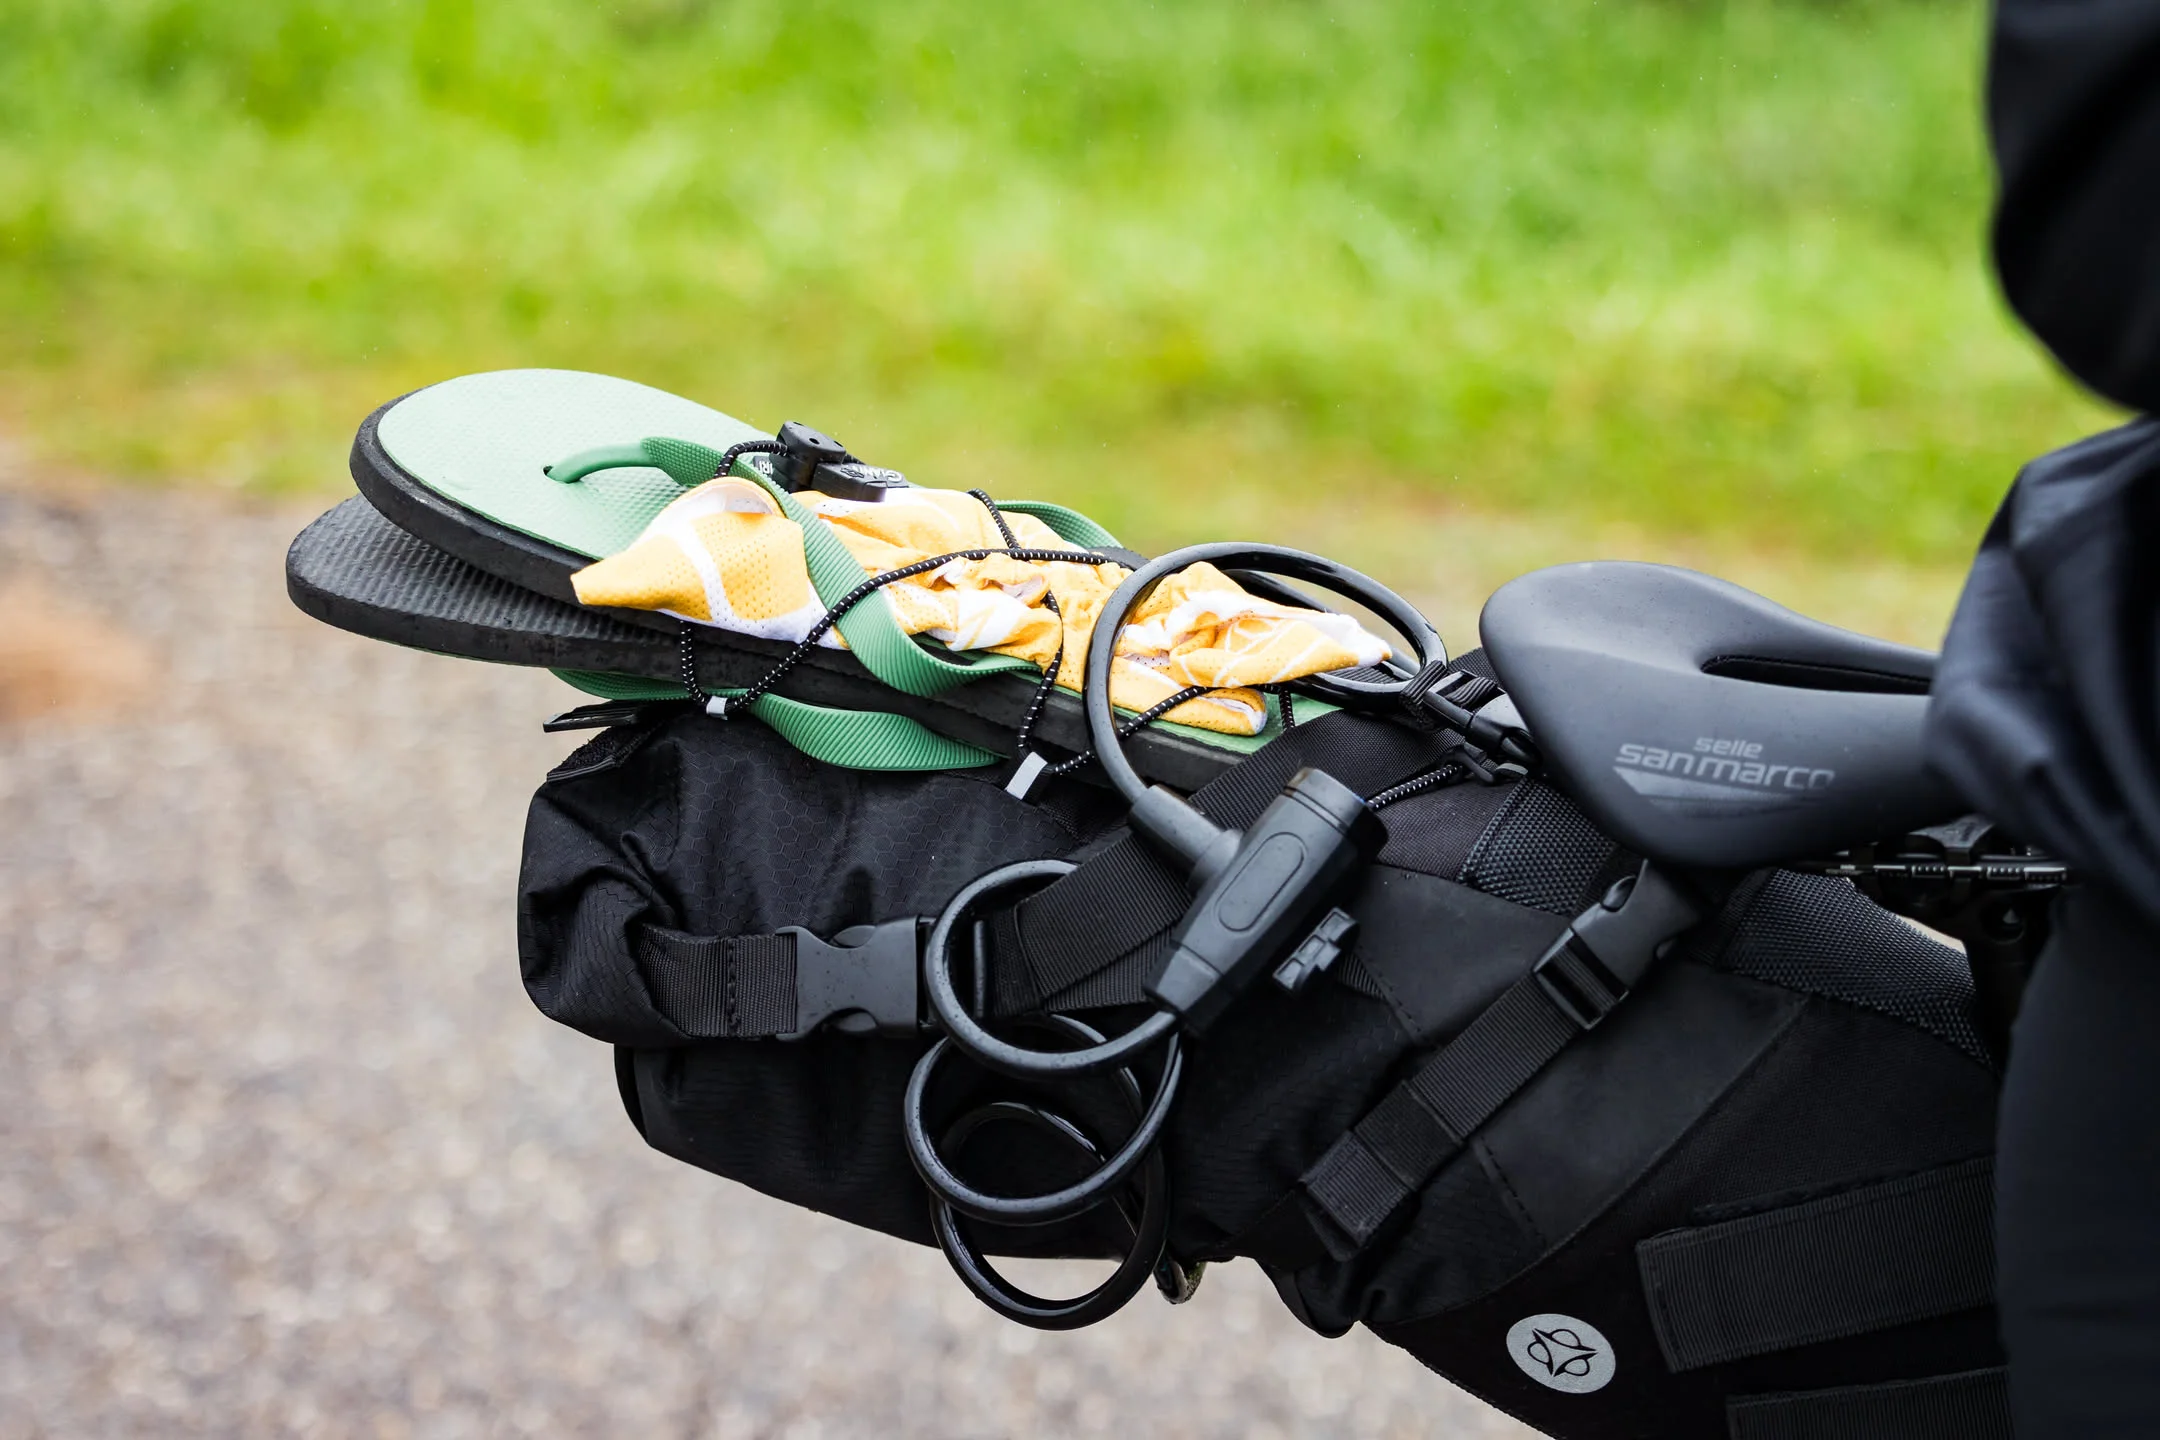
The main criterion is weight: under 200 grams for the pair is the target. They need to be compressible, usable with socks for cold evenings — which is why flip-flops are not the best choice — and they need to take up almost zero space in the bags.
Slide sandals, EVA clogs, Crocs: everyone has their preference. Crocs are awkward to carry because of their volume, but they are nearly indestructible, very light, and can be clipped to the outside of a seat bag through the back strap. Minimalist shoes that roll up are perhaps the best compromise: full protection, minimal weight, zero bulk.
Foot care: the detail that saves the days
Blisters are the number one cause of ruined days that could have been avoided. They form from friction, heat, and moisture — and they are prevented by catching the signal before it becomes a problem.
That signal is called a hot spot: a localized feeling of heat or burning at one point on your foot. When you feel it, stop. Immediately. Not in one more kilometer, not at the next descent. Take the shoe off, look at the spot, and put technical adhesive tape — Leukotape or kinesiology tape — directly on the reddened area. Leukotape in particular has an adhesive that holds through moisture for days. Ignoring a hot spot for twenty minutes means having a blister. Stopping for one minute means not having one.
If you ride with thin socks, consider the double sock system: a very thin synthetic liner sock under your normal sock. The friction transfers between the two fabric layers instead of between fabric and skin. Simple, light, effective.
The evening routine matters just as much. Rinse your feet every evening — even just with a wet wipe — to remove the salt crystals from sweat that dry on the skin and act like sandpaper during the following hours. Never sleep in the socks you rode in. Let the skin breathe during the night, and if you have a repair cream apply it before sleeping with clean, dry wool socks dedicated only to nighttime.
And during your lunch break, if conditions allow: take off your shoes and socks for fifteen minutes. Sun and air do more than any cream.
Before you leave: ten minutes that are worth the whole trip
Before every long trip, check these things on your shoes:
The cleats — wear indicators and bolt tightness, with fresh grease on the threads. The sole — no delamination anywhere. The closure system — no fraying on the SLW cable, no worn velcro. The insoles — if the foam does not return to its original shape after you compress it, it is time to replace them. The upper — no separation along the bonding line with the sole.
Ten minutes at home prevents hours of problems in the middle of nowhere.
The shoes we use — from the white roads of Tuscany on the Tuscany Trail to the gravel and tarmac of Northern Europe — are Northwave. If you want to explore their range for adventure cycling: northwave.com

Add comment